To use LPL VPN, you need the Cisco AnyConnect VPN client on your computer or mobile device.
If you do not have Cisco AnyConnect VPN installed on your device, you can find detailed instructions with screenshots on the UA Virtual Private Network (VPN) page.
How to connect to the LPL VPN?
Instructions
- Open the Cisco Secure Client.
In the field next to the connect button, enter your department-specific VPN (vpn.arizona.edu/lpl).
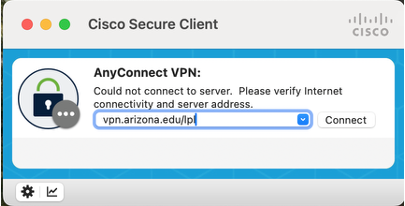
- Click Connect.
- Once you have clicked the Connect button, a login window will open up:
- Username: NetID
- Password: NetID Password
- 2FA Method: Type your preferred option.
- Enter push to receive a Duo Mobile push notification.
- Enter a passcode generated via the Duo Mobile app, SMS, Yubikey, Feitian, or Bypass code.
- Enter sms to generate a new batch of codes via text message.
- Click OK.
Click Accept on the Cisco Secure Client.
- You should now be connected to the LPL VPN.
Please notice that OSIRIS-REx/OSIRIS-APEX's VPN is also called LPL VPN and it provides access only to the OREx/APEX systems.