These printers are available for LPL public use in the Kuiper Space Sciences Building:
| Location | Queue Name(s) | Printer Type | Output Type | IP Address |
| Room 235 (hall) | hp277-235area | black-white | 150.135.108.119 | |
| Room 542 (hall) | hp5thfloor | black-white | single-sided / duplex | 150.135.109.237 |
| Room 351A | hp3525-351a | color | single-sided / duplex | 150.135.108.169 |
| Room 444 (hall) | hp277-444 | black-white | single-sided / duplex | 150.135.108.102 |
| Room 351A | Konica Minolta C554e | color | single-sided / duplex | 150.135.111.17 |
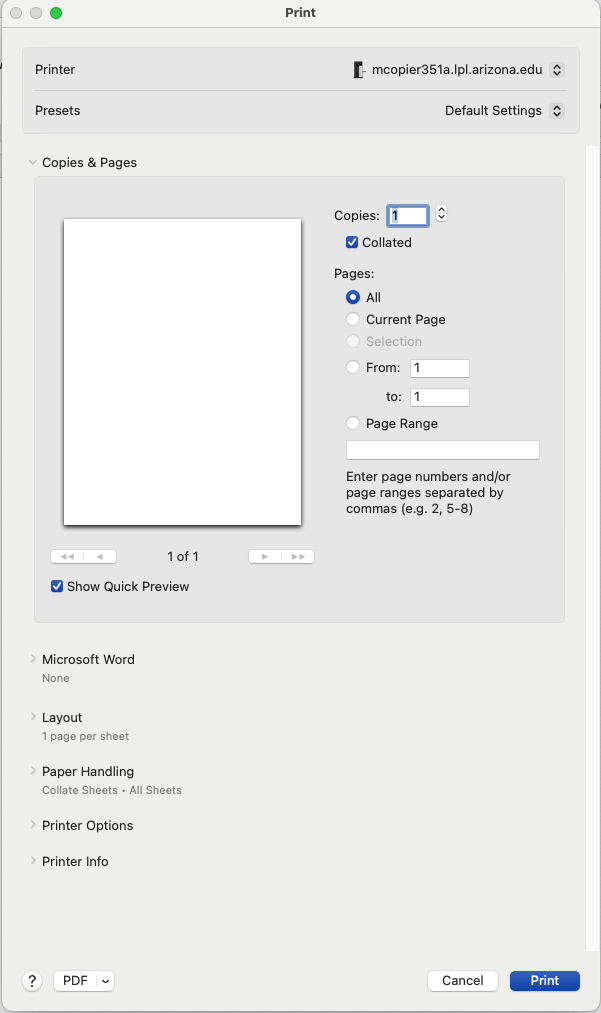
To print duplex from a Windows PC or a Mac, use the Print/Print Setup/Print Preview GUI to select double-sided printing. To print duplex from a Solaris machine, use the appropriate -dup queue.