- If you do not have a pin to the copier, please go to the LPL Konica Request Form and request a pin.
- Download the driver - New Konica-Minolta C450i in 351a - Driver for Mac - you will need to login with your NetID+.
- Click on the zip file to unzip it, if needed.
- Go into the Driver folder, click OS_10_14_x, then A4. Double click on the installer C750i_C287i_C4050i_C751i_C4051i.pkg.
- Follow directions. You should be prompted for your Mac's local admin password (probably the password for your account if you are an administrator on your machine). The drivers for the copier have been installed.
- Go to System Preferences → Printers and Scanners
- Click on 'Add Printr, Scanner, or Fax' to add a printer. Click on the IP tab at the top. Enter on the Address field: mcopier351a.lpl.arizona.edu
- For "Protocol", use "HP Jetdirect - Socket"
- On the last entry 'Use:', Click on 'Select Software' and choose 'Konica Minolta C450i PS' from the list. Click OK. Click Add on the bottom right.
- On the next screen,On Security Document Setting, click on 'Do Not Release Secure Print'. Enable 'Secure Print Only'. Click OK.
- The printer should now be installed.
- Pretend to print a file from word or from a browser to configure it.
- You will see a window like this:
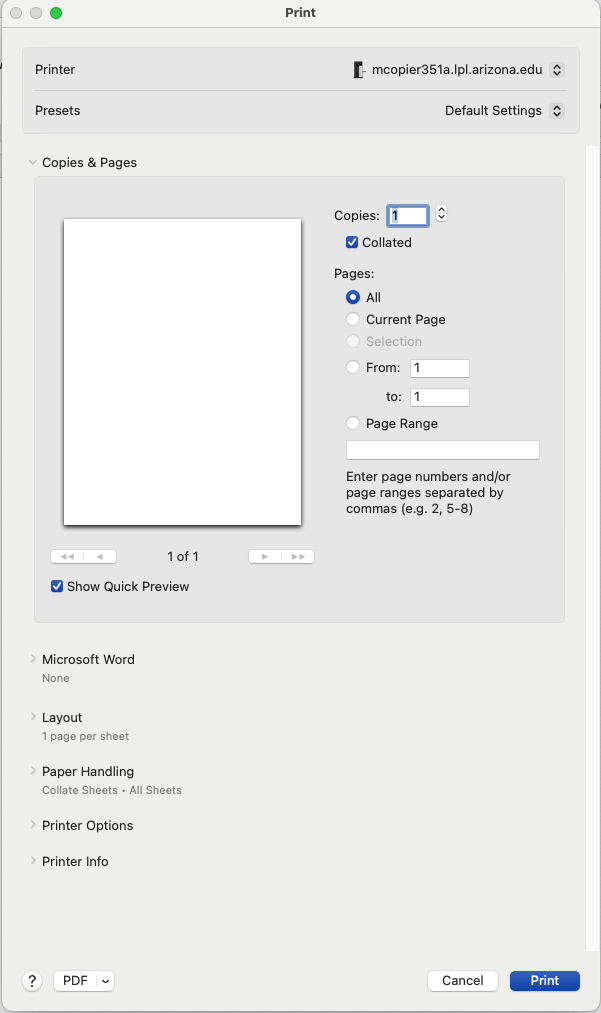
- Click on 'Printer Options' and Click on Output Method.
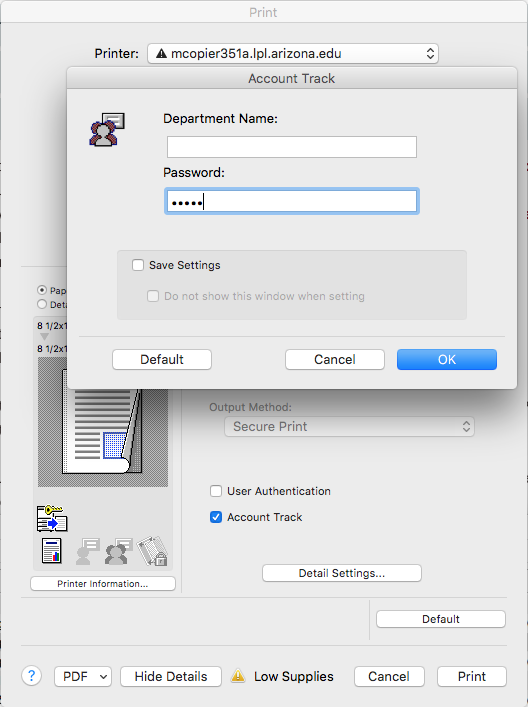
- Click on 'Account Track'
- Leave the 'Department Name' field in blank.
- On the 'Password' field enter the Pin number you received from the Business Office. Click on 'Save Settings'. Click Ok.
- You should see the window like this:
- Press print and you will see:
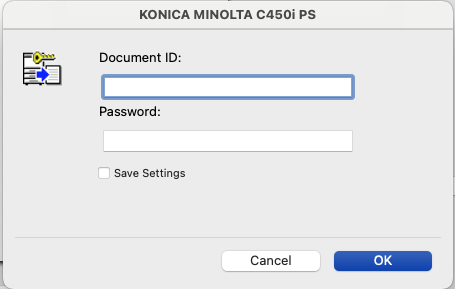
- On the 'Dcocument ID:', enter a string that you will remember - this is NOT your copier password. It is case sensitive. So when you want to release your job at the printer, you will need to remember this string.
- Leave the 'Password:' field blank if you want.
- Click Ok and you will see that your job has been sent to the copier.
To retrieve your job:
- Go to room 351a.
- On the printer click on the keyboard symbol and then type your Pin. Click Ok.
- Click on Login.
- Choose the Secure Print option.
- When prompted enter the same string as you typed (case sensitive) in step 18 above.
- Once your job is displayed, click on it and then press the 'Print' button on the right. The Start button will turn Blue.
- Click on Start button. Your job has been printed.
- Be sure to sign out of the printer before you walk away.