Getting Started with the ViewSonic ViewBoard

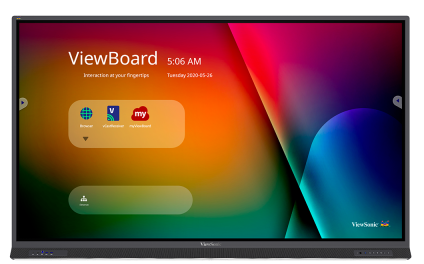
ViewSonic Viewboard is an interactive flat panel (IFP) that can be used in place of a standard whiteboard. Users can also display their own content and annotate it. Advanced options include opening/importing lesson materials, screen capture/saving annotated files, infinite canvas (multiple pages) and more.
Go to myViewBoard to view all functionality and instructions.
myViewBoard: Getting Started with your ViewBoard Interactive Display (video)
PDF version of myViewBoard Knowledge base.
If you plan to use the myViewBoard to save and recall your own boards, contact Bertha Orosco (PG4gdWVycz0iem52eWdiOmp2Z2cxQG5ldm1iYW4ucnFoIj5qdmdnMUBuZXZtYmFuLnJxaDwvbj4=) to set up a user account.

Note: If you plan on sharing the whiteboard to remote users, follow instructions under topic "Share Display/Whiteboard with Remote Users".
For full functionality, ask to be added as a user (witt1@arizona.edu) and also download the myViewBoard software to your laptop:
- Turn on the IFP, ensure you are on the Home screen. Note: If at any time the Home page does not appear by default, press the physical Home button at lower right of monitor.
- Select myViewBoard icon from the Home screen.
- Sign-in message will appear.
If you asked Bertha Orosco to add you as a user, enter sign-in credentials or download/use myViewBoard Companion app to scan QR code.
However, no sign-in is required to simply use the whiteboard. Click X to exit sign-in message.
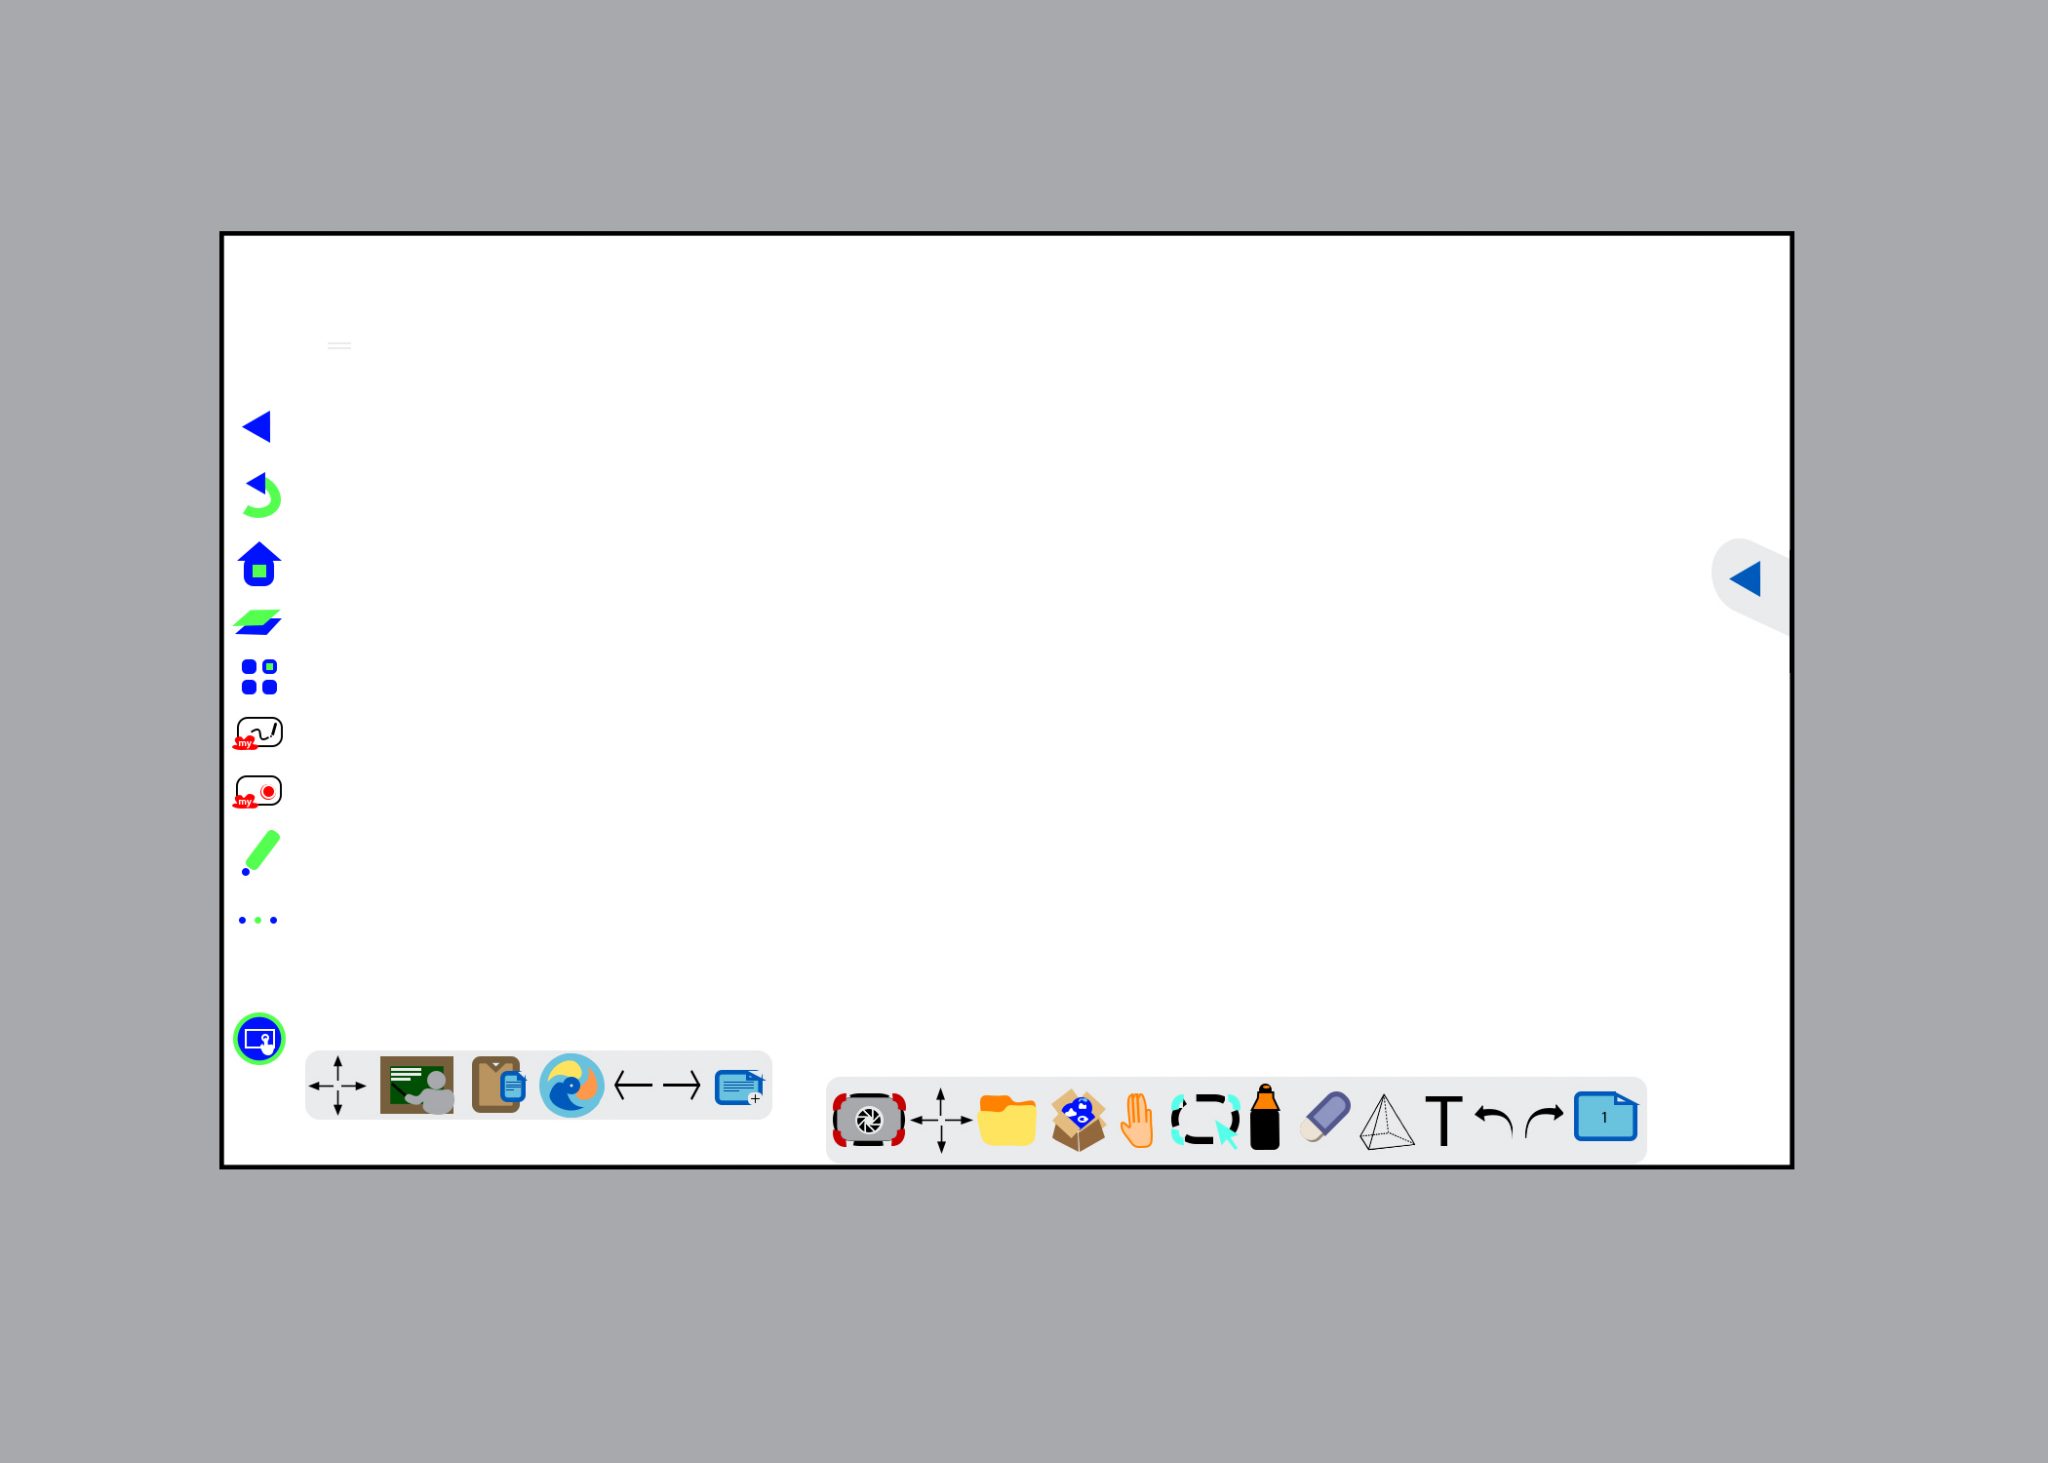
- Two toolbars are available.
- Main toolbar at bottom screen includes icons for annotating, group communication, screen shots and file management.
- Secondary (floating) toolbar includes icons for page/screen management.
- Use your finger or the provided stylus to "write" on the screen.
- Select available tools from the main toolbar at the bottom of screen. A complete list of available tools and functions can be found under topic "Whiteboard Toolbar Icons".
- Select color, adjust line thickness, use shapes, etc.
Note: In order to share your annotations, you will have to create an account on myViewBoard.com and then log into that account from the IFP. (From Home screen, expand Folder icon with dropdown arrow and select Chromium browser; select myViewBoard tab from Favorites.)
If you are using Annotation Tools with your presentation and want to switch to myViewBoard Whiteboard app, you must touch the Close Options icon (“X”) before you can switch to the whiteboard and whiteboard tools.
You can save your work to a USB drive that is inserted in the USB port located at the lower right of the ViewBoard.
For instructions on how to annotate after casting content, see tab titled "Annotate Content."
Mirror your laptop to the ViewSonic Viewboard (IFP) using any of these options:
- Wired
- HDMI cable from IFP to laptop; if you also plug in the IFP USB cable, you will be able to interact with your document/computer screen (click links, etc.) using your fingers on the IFP screen.
- Wireless
Mirror your laptop using myViewBoard Display
- On your laptop go to https://myviewboard.com/display and sign in.
- Select myViewBoard Display icon from ViewBoard menu on the home screen; display code/password will appear.
- Enter the display code and password on your laptop.
- Press "Present" and choose what to display. If you are sharing content that has audio, choose the Chrome Tab.
If at any time the Home page does not appear by default, press the physical Home button at lower right of monitor.
Note: If you plan on sharing the display to remote users, follow instructions under topic "Share Display/Whiteboard with Remote Users".
- USB. Plug your USB into IFP, open file, click side arrow for annotation toolbar and annotate.
- Wirelessly mirroring content. Click side arrow for annotation toolbar and annotate.
- HDMI cable. Click side arrow for annotation toolbar and annotate. With USB cable plugged into laptop, you can manipulate your laptop using touch on IFP.
- Bring up web content using installed Chromium browser and annotate/scroll, etc.
Note: Closing the annotation tools will also remove any annotations made to the desktop content. You can save your work to a USB drive that is inserted in the USB port located at the lower right of the ViewBoard.
If at any time the Home page does not appear by default, press the physical Home button at lower right of monitor.
Share Display/Whiteboard
To share your whiteboards, ask to be added as a user (witt1@arizona.edu) and also download the myViewBoard software to your laptop:
[Note: IFP may be used with Zoom to share a Zoom whiteboard.]
To share a simple whiteboard (not annotations on your content):
- From the Home screen, select myViewBoard from the screen menu.
- Sign into your myViewBoard account using the Companion app or your credentials.
- Select "No" in the "Stay signed in" pop up window.
- Your viewboard name will display at the top left corner of the screen.
- Select the group icon (round blue people) from the bottom toolbar.
- Wireless connection window will pop up. Press the red wireless icon and it will turn green.
- Instruct Remote participants to go to myViewBoard.com (they sign in with existing credentials or sign up for a free account). They will click on Receive Screen icon on top navigation bar, and enter host's viewboard name (name that shows at top left of IFP.)
- At the IFP, click on remote user number in Wireless Presentation box.
- Click on remote user name.
- Click X to close presentation menu.
- Whiteboard markings, chromium screens, and content saved on IFP or inserted USB are visible to remote users.
To request that remote participants share their screen:
- Instruct Remote participants to click on Share Screen icon on top navigation bar from their myViewBoard, and enter host viewboard name (name that shows at top right of IFP.)
- Click on remote participants number.
- Click on remote participants name.
- Click X to close presentation menu.
- You will now see remote participants screen. Up to 6 screens can be shared at one time.
To share your laptop display and annotations to your presentation and control your laptop from the IFP.
Note: The following can be done from the IFP when laptop is connected using the HDMI and USB cables from the IFP.
- From your laptop open the myViewBoard program (downloaded from links provided above) and sign into your myViewBoard account using the QR code (myViewBoard Companion app) or your credentials.
- Select "No" in the "Stay signed in" pop up window.
- Your viewboard name will display at the top left corner of the screen.
- Select the group icon (round blue people) from the bottom toolbar.
- Wireless connection window will pop up. Press the red wireless icon and it will turn green.
- Instruct Remote participants to go to myViewBoard.com (they sign in with existing credentials or sign up for a free account). They will click on Receive Screen icon on top navigation bar, and enter host's viewboard name (name that shows at top left of IFP.)
- At the IFP, click on remote user number in Wireless Presentation box.
- Click on remote user name.
- Click X to close presentation menu.
- At the IFP, click on the Windows icon (four blue squares) from the bottom toolbar.
- Your laptop desktop is displayed on the IFP with a toolbar on the upper right side of the screen.
- Annotate your laptop display using the pen from the toolbar
- Open files, select browser tabs, scroll through your document using your finger.
- Select the "my" icon from the toolbar to go back to the whiteboard.
Main toolbar icons

Floating toolbar icons

Magic Box Tools
The Magic Box has a variety of tools that you can use. You can access files, videos, images, and even create sticky notes that you can place on your slides
Marker Menu
Using your finger to draw gives you the most options. There is a marker, highlighter, shape pen, and magic line tool.
Use the the palm of your hand as your eraser.
With the ViewSonic pen, you have limited options. You still can control marker color, width, and opacity.
Using the back of your pen is the eraser.
Shapes
To draw shapes, 3-D objects, and graphs, choose the object you want to draw.
Using your finger, drag out on the interactive board to place the object. You cannot do this with the pen.
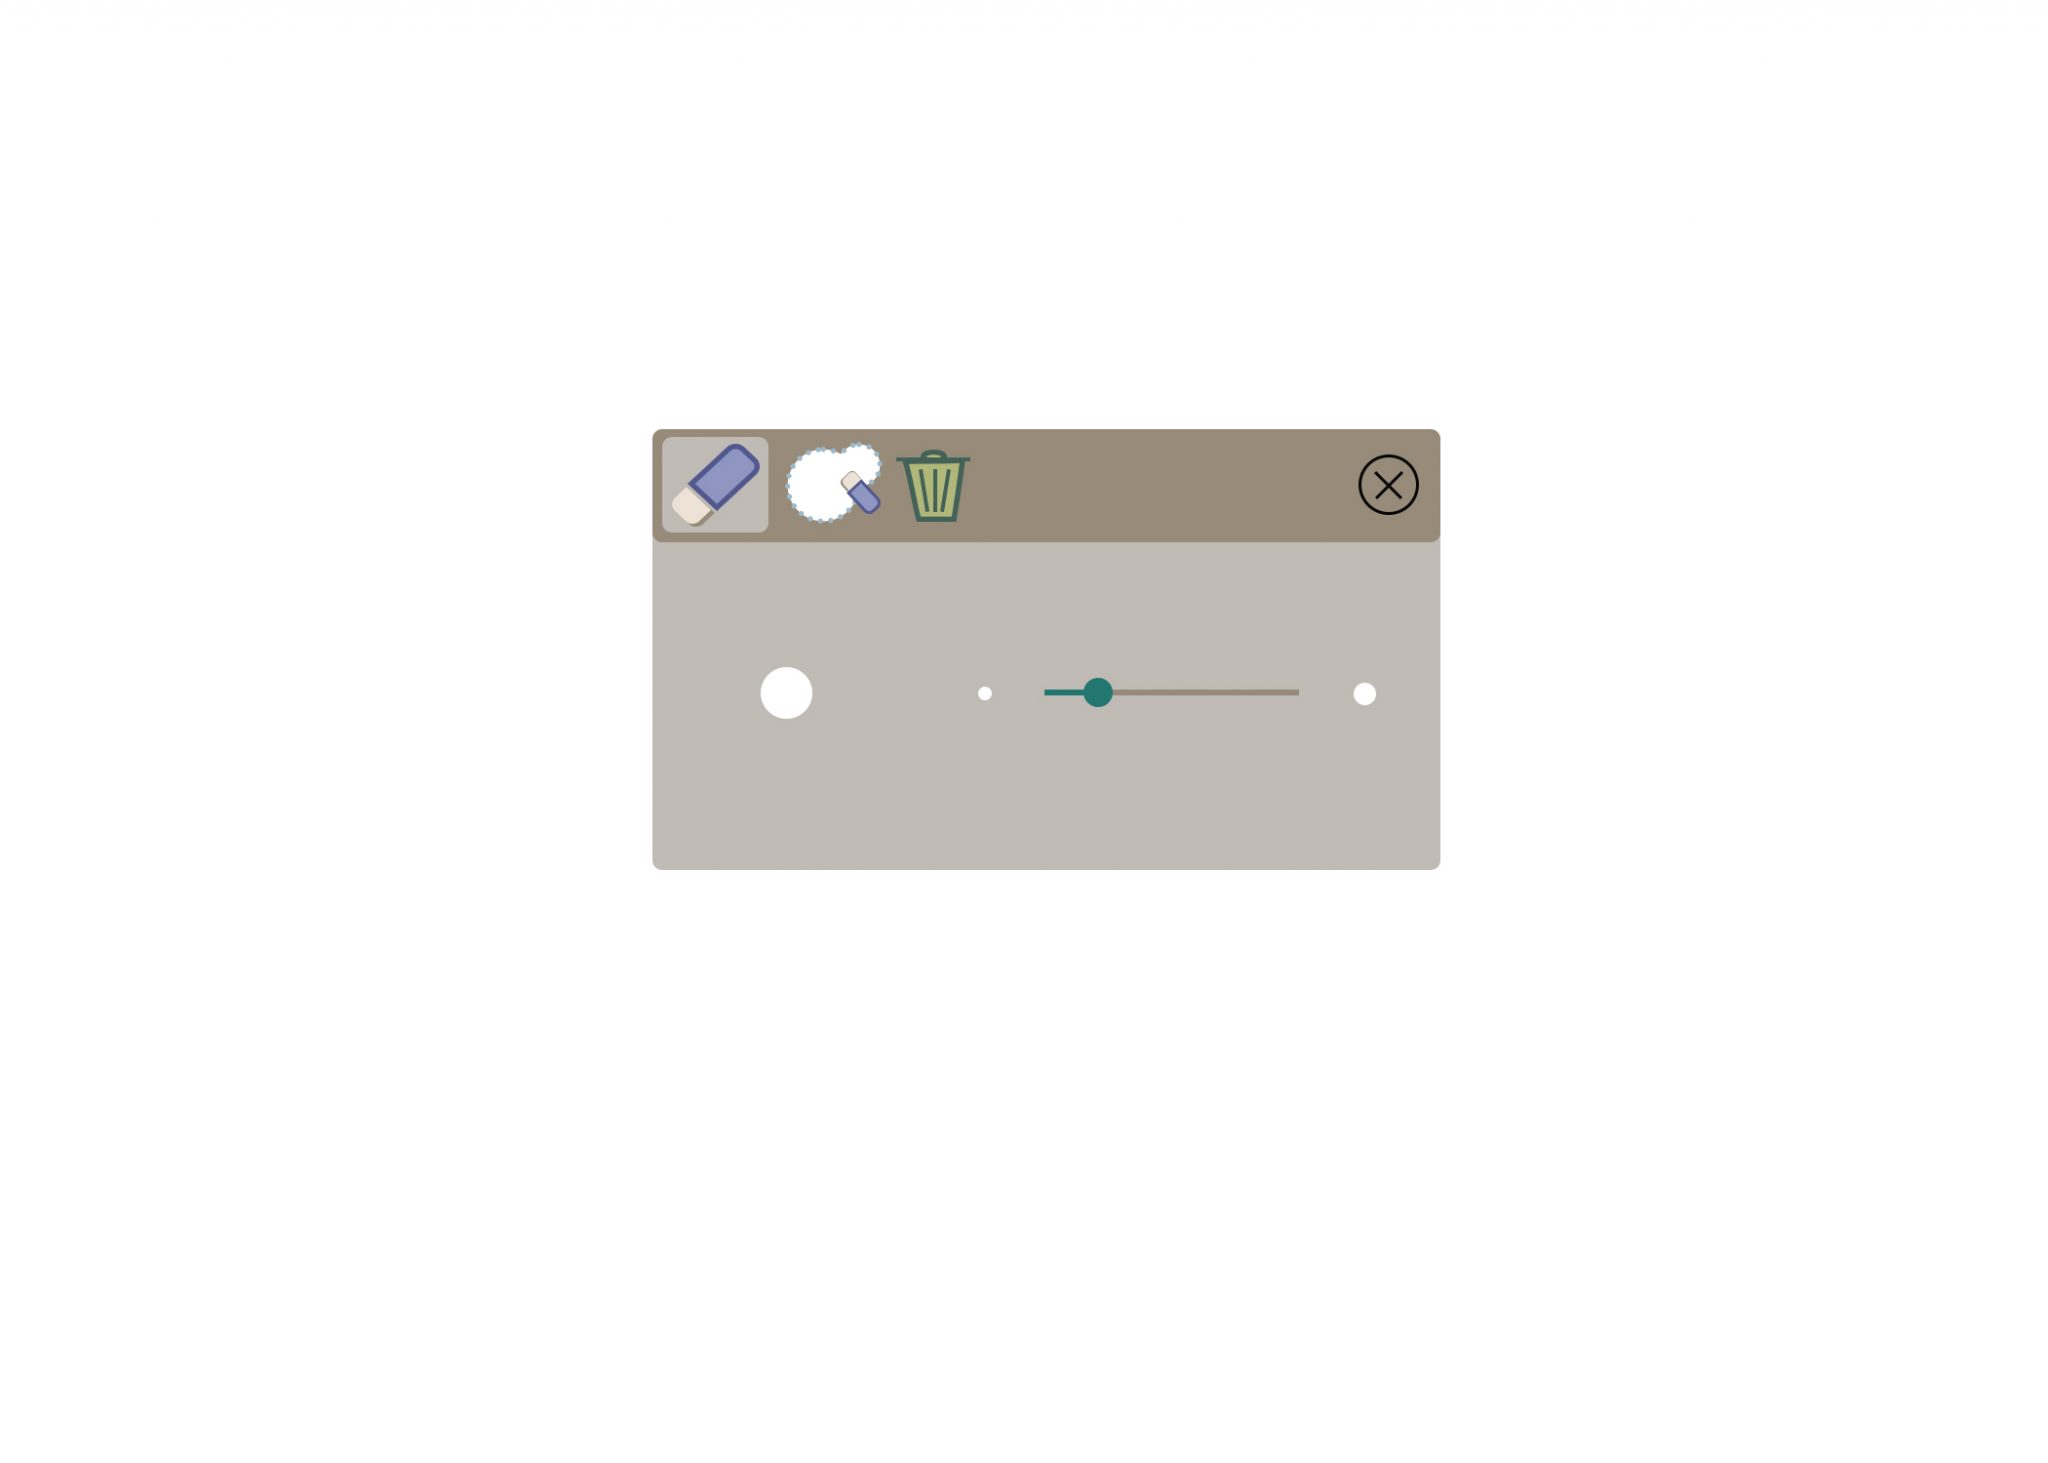
Eraser
Use the Eraser tool to erase annotations. Select the cloud eraser to draw around a selection to delete everything within the selection.
If you are using your finger to annotate, use the palm of your hand to erase larger area.
If you are using the pen to annotate, use the back of the pen to erase.
Use the Trash can to delete all annotations.
Browser
Use the Browser tool to access the Internet. You can embed videos from the web into the Whiteboard slides.
Menu Bar
To open annotation menu bar while presenting on the IFP tap either arrow on the left or right of your screen.
Input
All Options
Annotation Pens
Tapping the Annotation Tools pen icon allows you to choose which tool to use.
Tapping the pen icon again allows you to choose colors.
More Options
Tapping More Options gives you more tools. There is a timer, a stopwatch, a spotlight, a quiz feature, and a screenshot feature.
You can wirelessly connect using either vCast or Airplay
Note: You must be on the same network as the IFP (UA Guest) when using vCastReceiver/vCastSender or AirPlay.
Connect using vCastReceiver/vCastSender
To use this option, download vCastSender to your laptop prior to using this option. (download here)
- Select vCastReceiver from the IFP.
- Open vCastSender on your laptop.
- Enter the PIN Code from the IFP to the the pin code field on your laptop and click OK.
- vCastMenu is displayed
- Cast - To send your display from your laptop to the IFP.
- Receive - To receive the display from the IFP to your laptop.
- Select Cast to send laptop display to IFP.
- Your display is now mirrored on the IFP and sound will be played through the speakers on the IFP.
- You can also use touch and drag to zoom in and out on the IFP. Note: Chrome OS and iPads do not work with the touch function.
Connect using AirPlay
To connect using AirPlay with an iPad, the name of the IFP is Cast-8351.
- Go to your device settings on your iPad select display settings.
- Scroll down the list of available AirPlay devices.
- Select the IFP name: Cast-8351.
- A code will appear on the IFP.
- Enter the code into the code field on your iPad and press OK.
- Your display is now mirrored on the IFP.
Note: iPad does not have the touch function for the IFP.
If at any time the Home page does not appear by default, press the physical Home button at lower right of monitor.
Zoom using IFP and presenting from your laptop
- Start Zoom meeting from 301 laptop computer
- Student/presenter connects their laptop to the IFP using the HDMI and the USB cables from the IFP.
- Student/presenter joins Zoom meeting from their laptop.
Share whiteboard notations during Zoom meeting
Preferred option:
- Start Zoom meeting from in-room computer.
- Open MyViewboard application from IFP.
- Exit out of sign on window.
- To start Zoom meeting from IFP:
- Click arrow on either side of the screen.
- Click home icon to go back to the main IFP screen.
- Scroll through applications to the Zoom icon and click.
- Join the same Zoom meeting as the in-room computer.
- Click on share
- Click on Share Screen option.
- Warning message cautions you to be aware of personal information being displayed from your computer.
- Select Start Now
- Select Myviewboard.
- Whiteboard notations are now viewable to all participants.
Additional options:
- Use Zoom whiteboard. You must log in to Zoom if you want to save or refer back to the whiteboard or if you want to switch between your presentation and the whiteboard.
OR
- Use a web-based whiteboard such as webwhiteboard.com if you want to switch between your presentation and the whiteboard.
To start sharing the whiteboard with your meeting, use the Zoom “share” button to share either whiteboard or web browser depending on your whiteboard preferences.
Helpful Hints
Press the physical Home button at lower right of monitor.
You can also press the arrow on either side of the IFP screen and press the home button.
- From Home Screen, select the folder icon.
- Scroll through the available files to find the Chromium Browser icon.
- Click on the icon and a browser screen will display.
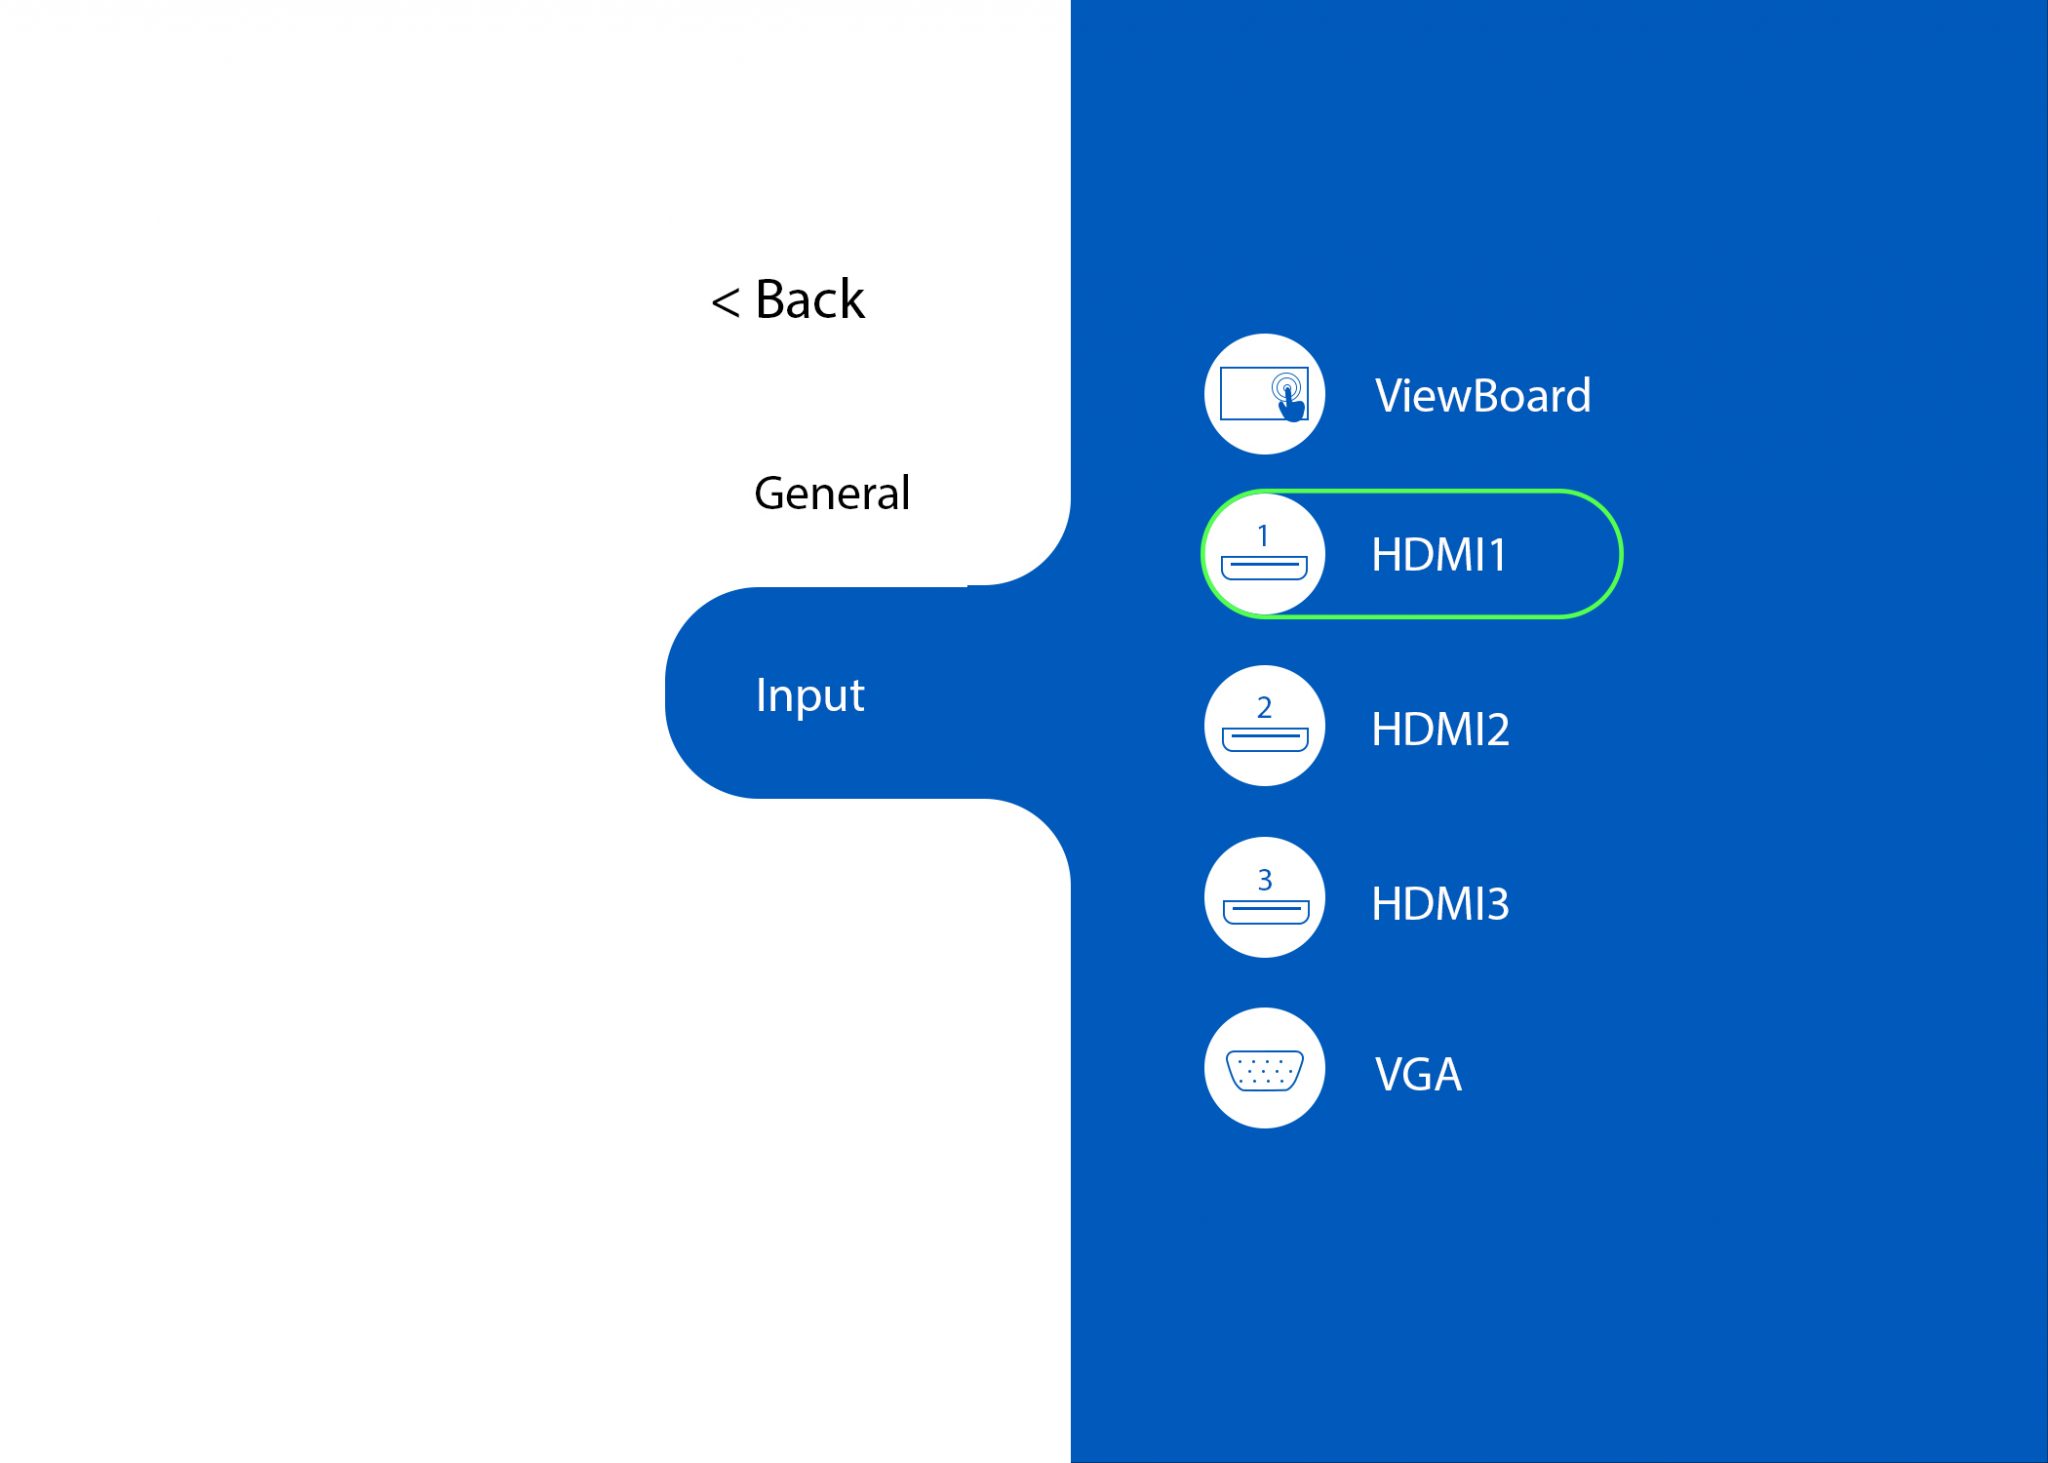
From the Home Screen, click on the menu icon.
Availabe input options are displayed:
- HDMI 1
- HDMI 2
- HDMI 3
More ViewSonic Resources
Check out this website from ViewSonic to troubleshoot more problems.
ViewSonic ViewBoard information.


